Restoring Antique Locks: A Comprehensive Guide to Preserving Historical Mechanisms
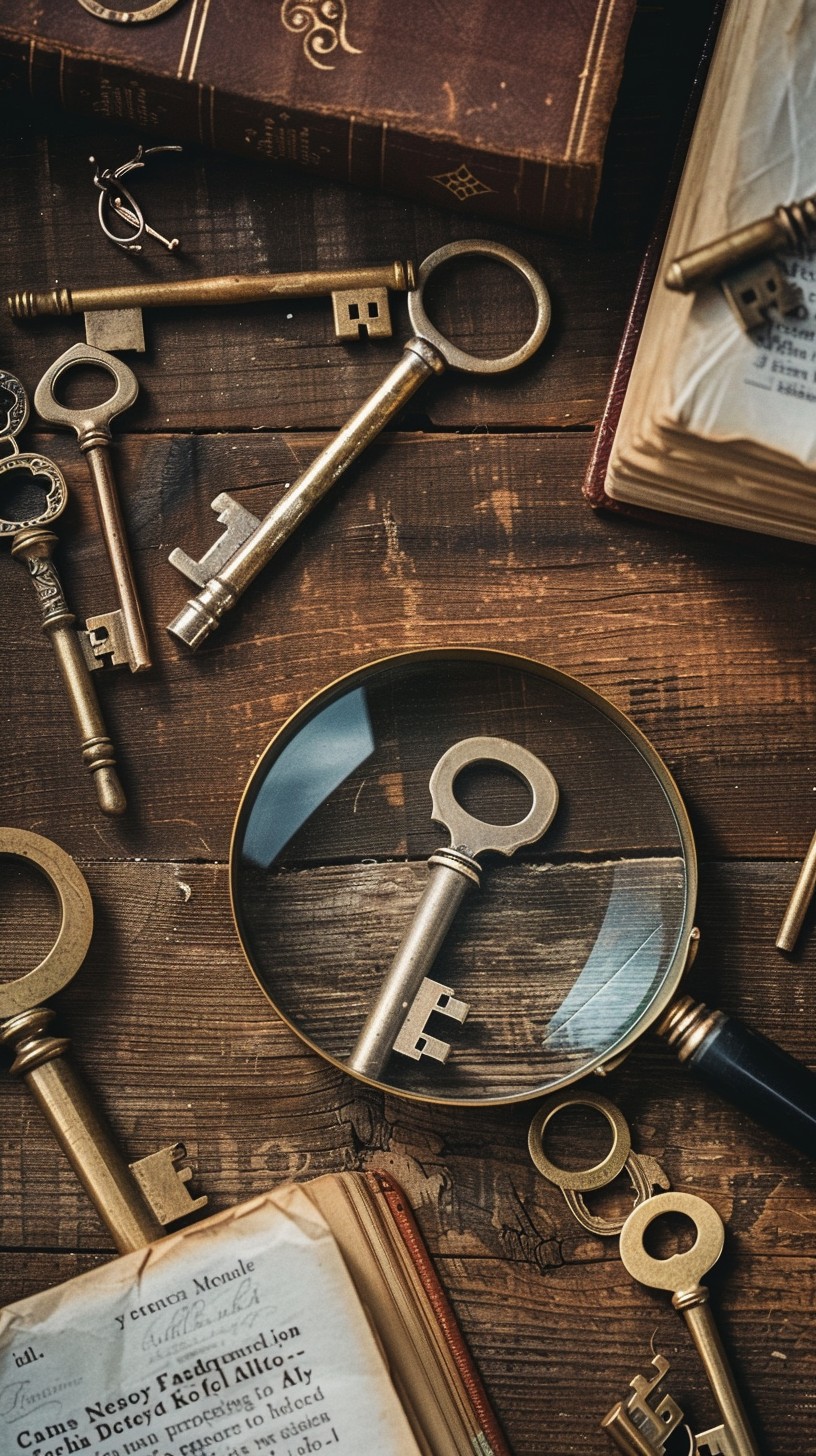
Restoring antique locks is not only a meticulous craft but also a crucial practice in preserving history. These locks, often crafted with intricate detail and precision, are more than just security devices; they are artifacts that tell stories of the past. Whether you are a locksmith, a collector, or an enthusiast, understanding the process of restoring antique locks can help you maintain their function and beauty for generations to come.
Understanding the Historical Significance of Antique Locks
Antique locks are a window into the past, reflecting the technological advancements, artistic styles, and security needs of their time. From the simple wooden pin locks of ancient Egypt to the complex brass mechanisms of the Victorian era, these locks were designed not only to secure but also to impress. When restoring an antique lock, it’s important to appreciate its historical context, as this will guide your restoration approach.
Types of Antique Locks
Before embarking on a restoration project, it’s essential to identify the type of lock you’re working with. Some common types of antique locks include:
- Ward Locks: These are some of the earliest forms of metal locks, often characterized by their complex keyways and large keys.
- Lever Locks: Introduced in the 18th century, lever locks use a set of levers to secure the bolt, offering a higher level of security.
- Rim Locks: Popular in the 19th century, rim locks are mounted on the surface of the door and often feature ornate designs.
- Mortise Locks: Mortise locks are fitted into a pocket or mortise in the door, offering a sleek and secure solution that became common in the late 19th and early 20th centuries.
Each of these locks requires a different approach to restoration, depending on its age, condition, and materials used.
Assessing the Condition of the Lock
Before you begin the restoration process, it’s crucial to carefully assess the condition of the antique lock. This assessment will help you determine the extent of restoration needed and whether any parts need to be repaired or replaced.
Inspecting for Damage
Look for common issues such as:
- Corrosion: Rust and oxidation are common in antique locks, especially if they have been exposed to moisture over the years. Corrosion can affect both the appearance and functionality of the lock.
- Wear and Tear: Check for signs of wear, such as rounded edges on the key or worn-out internal mechanisms. This wear can cause the lock to function improperly.
- Broken Components: Identify any broken or missing parts, such as springs, levers, or wards. These components may need to be fabricated or replaced with period-appropriate materials.
Evaluating the Lock’s Functionality
Test the lock with its original key if available. If the key is missing or damaged, you may need to create a new one. The lock should move smoothly without sticking or jamming. Any resistance or malfunction can indicate internal issues that require attention.
Steps to Restore an Antique Lock
Restoring an antique lock is a delicate process that requires patience, precision, and the right tools. Below are the steps you should follow to ensure a successful restoration:
1. Disassembling the Lock
The first step in restoration is to carefully disassemble the lock. This allows you to clean and inspect each component individually. Take detailed notes or photographs during disassembly to ensure you can reassemble the lock correctly.
- Use Appropriate Tools: Use small screwdrivers, pliers, and other delicate tools to avoid damaging the lock during disassembly.
- Label Components: As you remove each part, label it or place it in an organized layout to keep track of everything.
2. Cleaning the Components
Once disassembled, clean each component thoroughly to remove dirt, rust, and old lubricants.
- Remove Rust: Use a rust remover or a mixture of vinegar and baking soda to gently remove rust from metal parts. For more delicate pieces, consider using a brass brush or fine steel wool.
- Clean the Keyway: Use a fine brush or compressed air to clean out the keyway. Ensure that no debris remains that could hinder the lock’s operation.
- Polish the Metal: After cleaning, polish the metal components with a mild metal polish to restore their original luster. Be careful not to over-polish, as this can wear down the metal.
3. Repairing or Replacing Damaged Parts
If any components are damaged beyond repair, you may need to fabricate new parts or source period-appropriate replacements.
- Fabrication: If you have the skills and tools, fabricate missing or broken parts from similar materials to maintain the lock’s authenticity.
- Replacement Parts: For those without the means to fabricate, search for replacement parts from other antique locks of the same period. Ensure that these parts are compatible with the original design.
4. Reassembling the Lock
After cleaning and repairing, carefully reassemble the lock. Refer to your notes or photographs to ensure each component is placed correctly.
- Lubrication: Apply a light lubricant, such as graphite powder, to the moving parts of the lock to ensure smooth operation. Avoid using oils that can attract dust and grime.
- Testing: Once assembled, test the lock multiple times with the key to ensure it functions correctly. Make any necessary adjustments to the internal mechanisms to achieve optimal performance.
5. Refinishing the Exterior
The final step is to restore the exterior finish of the lock. This can involve:
- Polishing: Polish the exterior metal surfaces to remove tarnish and restore shine. Be mindful of preserving any original patina, as this adds to the lock’s character.
- Painting or Lacquering: If the lock originally had a painted or lacquered finish, consider applying a fresh coat to protect the metal from future corrosion. Use historically accurate colors and finishes to maintain authenticity.
Preserving the Lock for Future Generations
Once restored, it’s important to take steps to preserve the antique lock to ensure its longevity.
Storage and Display
- Avoid Humidity: Store or display the lock in a dry environment to prevent rust and corrosion. Use silica gel packs to control moisture levels.
- Handle with Care: When handling the lock, wear gloves to prevent oils from your skin from tarnishing the metal.
Regular Maintenance
- Periodic Cleaning: Periodically clean and lubricate the lock to keep it in good working order.
- Inspect for Wear: Regularly inspect the lock for signs of wear or damage, addressing any issues promptly to avoid further deterioration.
Conclusion
Restoring antique locks is a rewarding endeavor that not only preserves a piece of history but also ensures that these intricate mechanisms continue to function as they were intended. By following the steps outlined in this guide, you can restore antique locks with care and precision, maintaining their historical value and mechanical integrity.